Create a Self-Signed Certificate for Nginx in 5 Minutes
How to Create a Self-Signed SSL/TLS Certificate for Nginx in 5 Minutes on macOS and Linux
Published by Carlo van Wyk on April 11, 2025 in SSL

In this tutorial, I'm going to show you how you can create a self-signed SSL/TLS certificate and use it on Nginx in 5 minutes or less.
Instructions are provided for macOS and Linux.
Why Create a Self-Signed Certificate?
Self-signed certificates are useful for local development where you want to simulate an HTTPS environment. Keep in mind that self-signed certificates are not intended for production use.
Default Nginx Configuration Does Not Support HTTPS
If we spin up a Nginx Docker container with the command below:
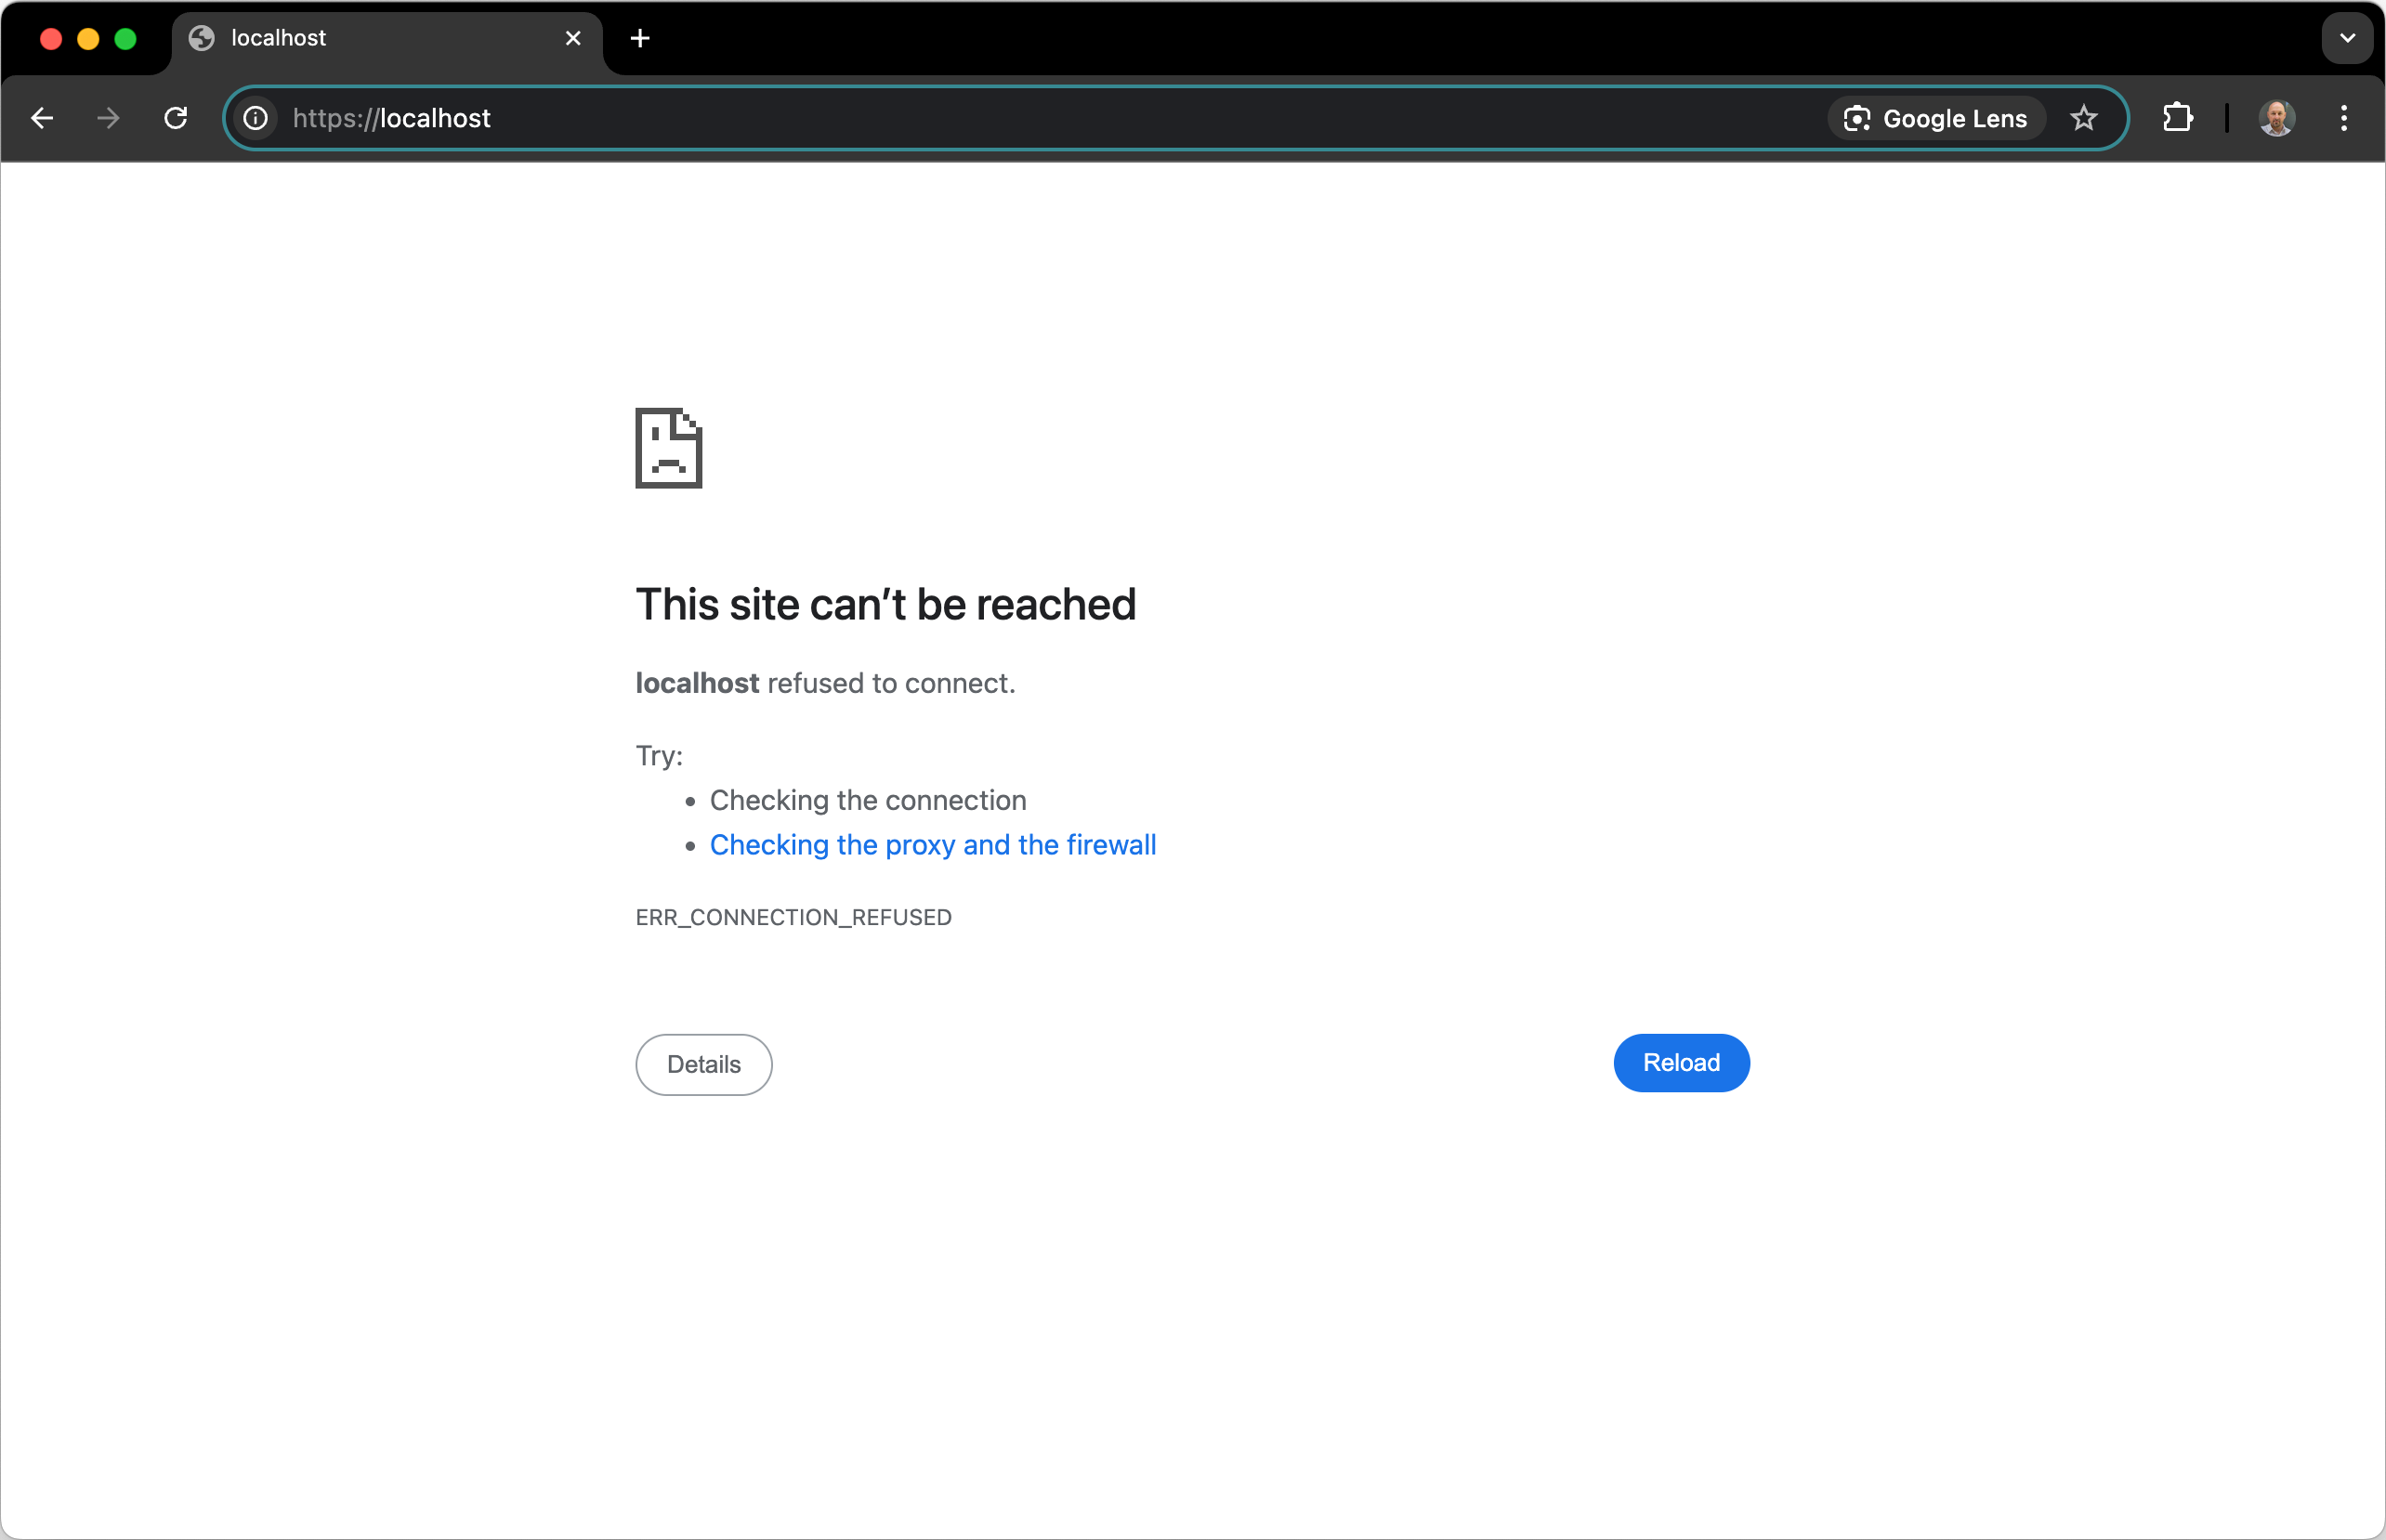
docker run --rm --name nginx -p 80:80 -d nginxWe can see that Nginx supports HTTP by default, but not HTTPS

Configuring Nginx to Serve Requests Over HTTPS
To serve HTTPS requests with Nginx, and to Dockerize this setup, we need to do the following:
- Generate a
self-signed SSL certificateand key withOpenSSL - Create an
Nginx configuration filethat serves requests overHTTPSusing the self-signed certificate that was generated in step 1 - Create a
docker-compose.ymlfile that will spin up and host the Nginx service
Step 1: Generate a Self-Signed Certificate and Key using OpenSSL
I'll use OpenSSL to generate a self-signed certificate.
Before generating the certificate with OpenSSL, we’ll create a config file to include localhost as a Subject Alternative Name (SAN), which is required by modern browsers.
The Subject Alt Names (SAN) are required in Google Chrome 58 and later, and is used to match the domain name and the certificate. If the domain name is not listed in the certificate's Subject Alternative Names list, you'll get a Your connection is not private error message, even though Nginx is correctly configured to serve the SSL certificate.
[req]
default_bits       = 2048
prompt             = no
default_md         = sha256
req_extensions     = req_ext
distinguished_name = dn

[dn]
CN = localhost

[req_ext]
subjectAltName = @alt_names

[alt_names]
DNS.1 = localhost

[ext]
subjectAltName = @alt_names
Then, I'll run the openssl command to generate a certificate key pair which consists of a of a private key and a public key.
OpenSSL will generate 2 files which consist of a private key and a public key. Even though most people refer to an SSL/TLS certificate in the singular sense, it is the combination of the private key and the public key that makes a certificate.
macOS and Linux command to generate a self-signed certificate for localhost:
mkdir certsopenssl req -x509 -nodes -days 365 \
-newkey rsa:2048 \
-keyout certs/localhost.key \
-out certs/localhost.crt \
-config localhost.cnf \
-extensions extStep 2: Create a Nginx configuration file that serves requests over HTTPS
server {
    listen 80;
    server_name localhost;

    return 301 https://$host$request_uri;
}

server {
    listen 443 ssl;
    listen [::]:443 ssl;
    server_name localhost;

    http2 on;

    ssl_certificate /etc/ssl/localhost.crt;
    ssl_certificate_key /etc/ssl/localhost.key;

    ssl_protocols TLSv1.2 TLSv1.1 TLSv1;

    root /var/www/html;

    index index.html;
}
This configuration file serves requests over HTTPS, and redirects any HTTP requests to HTTPS.
Step 3: Create a docker-compose.yml file and Launching the Nginx Service with Docker Compose
services:
  nginx:
    image: nginx:latest
    ports:
      - "80:80"
      - "443:443"
    volumes:
      - ./nginx/conf.d:/etc/nginx/conf.d
      - ./certs:/etc/ssl
      - ./html:/var/www/html
    restart: always
docker compose up -dStep 4: Open up the Google Chrome to Verify that Nginx Loads the Site Over HTTP and HTTPS
If we open up Google Chrome and head to https://localhost, we'll see the Your connection is not private error in Google Chrome.

This means that Nginx successfully served the self-signed certificate, but Google Chrome is warning us because it doesn’t trust the certificate authority (CA) that signed it. In this case, it’s self-signed, so there’s no trusted third party involved.
Because of that, browsers like Google Chrome (and others) will always flag the certificate as untrusted unless we explicitly tell the system to trust it.
Step 5: Add the Certificate to the System and Mark It as Trusted So That Google Chrome Stops Showing Security Warnings
sudo security add-trusted-cert -d -r trustRoot -k /Library/Keychains/System.keychain certs/localhost.crtcertutil -d sql:$HOME/.pki/nssdb -A -t "P,," -n "localhost" -i certs/localhost.crtStep 6: Restart Chrome and Reload https://localhost
Restart Google Chrome, then load https://localhost again.
This time, Chrome will recognize the certificate as trusted and display the site as secure.

